How I Edit My Wedding & Portrait Photos
I've had a few requests recently for before & after examples, to show how I edit my wedding & portrait photos. So I thought I'd take a moment to share a quick look at my editing process.
My Photography Style

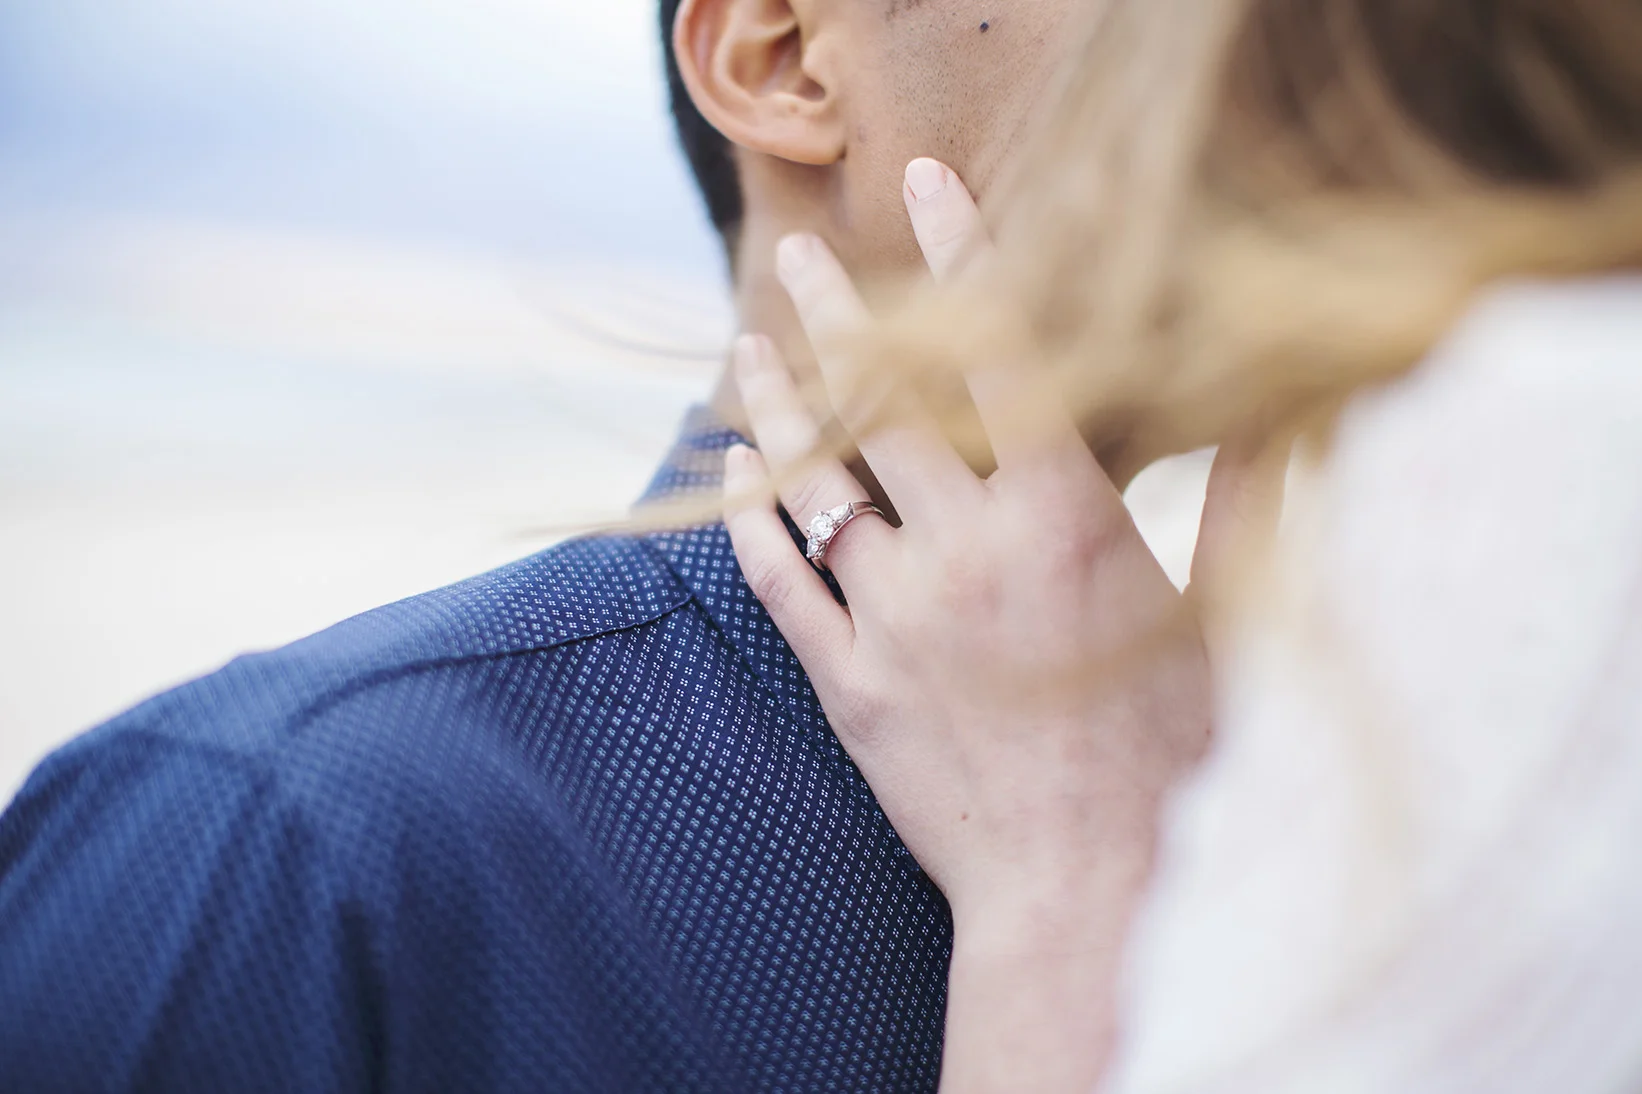
I like to keep my photography very natural & soft, with a bit of an alternative & artistic feel. Getting things right in camera is a huge part of this. I love shooting with a wide aperture to let lots of soft, beautiful light onto my sensor for one thing. I also make sure to put my subjects in a location where the light is naturally soft & beautiful (where possible). And I always shoot in RAW format.
What is RAW?
RAW is a camera file that stores a LOT of extra information about your photo. To give you a very basic understanding of how this works, I'll quickly talk about f-stops (a measurement of light). Our eyes can see about 18 f-stops (wow!!), this means we can still see lots of details in both highlights and shadows. Film camera's can see up to 12 f-stops, which is very impressive! And professional digital camera's can see roughly 6-8 f-stops (depending on the camera), these (along with extra white balance info) are captured by the RAW file. If you shoot straight to jpg, you loose all of this information (think 0.3 of an f-stop). How do you make the most of this extra information? Whether you're shooting film or digital, this comes down to how you process your image.
SOOCR
SOOCR (or straight out of camera raw), shows the image exactly as it is captured in it's RAW format. Straight out of the camera like this, with no processing at all, and this file won't even look as good as a jpg. Jpg files are the camera's automatic interpretation of the image, and so it has technically already been automatically processed. Whereas the RAW file has had no processing done, and it can look very flat and lifeless, often even too soft. I will also often underexpose my images slightly when I'm shooting. Why? Because digital cameras capture more details in the shadows than they do in the highlights (the opposite of film). And so I will shoot slightly under exposed so I can bring up the beautiful details in the shadows, without loosing all of the details in the highlights.
Here are examples of 2 of my photos straight out of the camera, as I caught them in RAW format.
Processing My RAW Files
So what do I do to process my RAW files? I love to have lots of dark shadows and bright, soft highlights in my photos, but I hate it when the transition from one to the other is too harsh. So I will generally bring the blacks down, the shadows up and maybe the highlights down a little to create a nice, smooth gradient from dark to light with a bit of punch (a similar process to the J-trick). I'll also make sure my colours look nice and vibrant (but still natural). As you can see in the photos above, the initial capture was too blue - so I warmed them both up. You can also see that I have deliberately underexposed both photos (as explained above), so I will bring the exposure of the shadows and mid tones up without doing much to my whites and highlights. Both images are backlit, and so slightly underexposing the RAW files means that I can keep the details in the brighter, back-lit highlights. I edit each RAW file individually, to make sure I always bring out the best of the information captured in the RAW file.
The Final Edit
With my RAW file now processed to a beautiful Lightroom file, I can do a final little tidy up, such as straightening horizons, sharpening details, dodging and burning etc etc. Sometimes though, the conversion from RAW is enough to bring some wow back into my image and all that's needed. Every photos is unique. (You can click the images below to view them full screen).
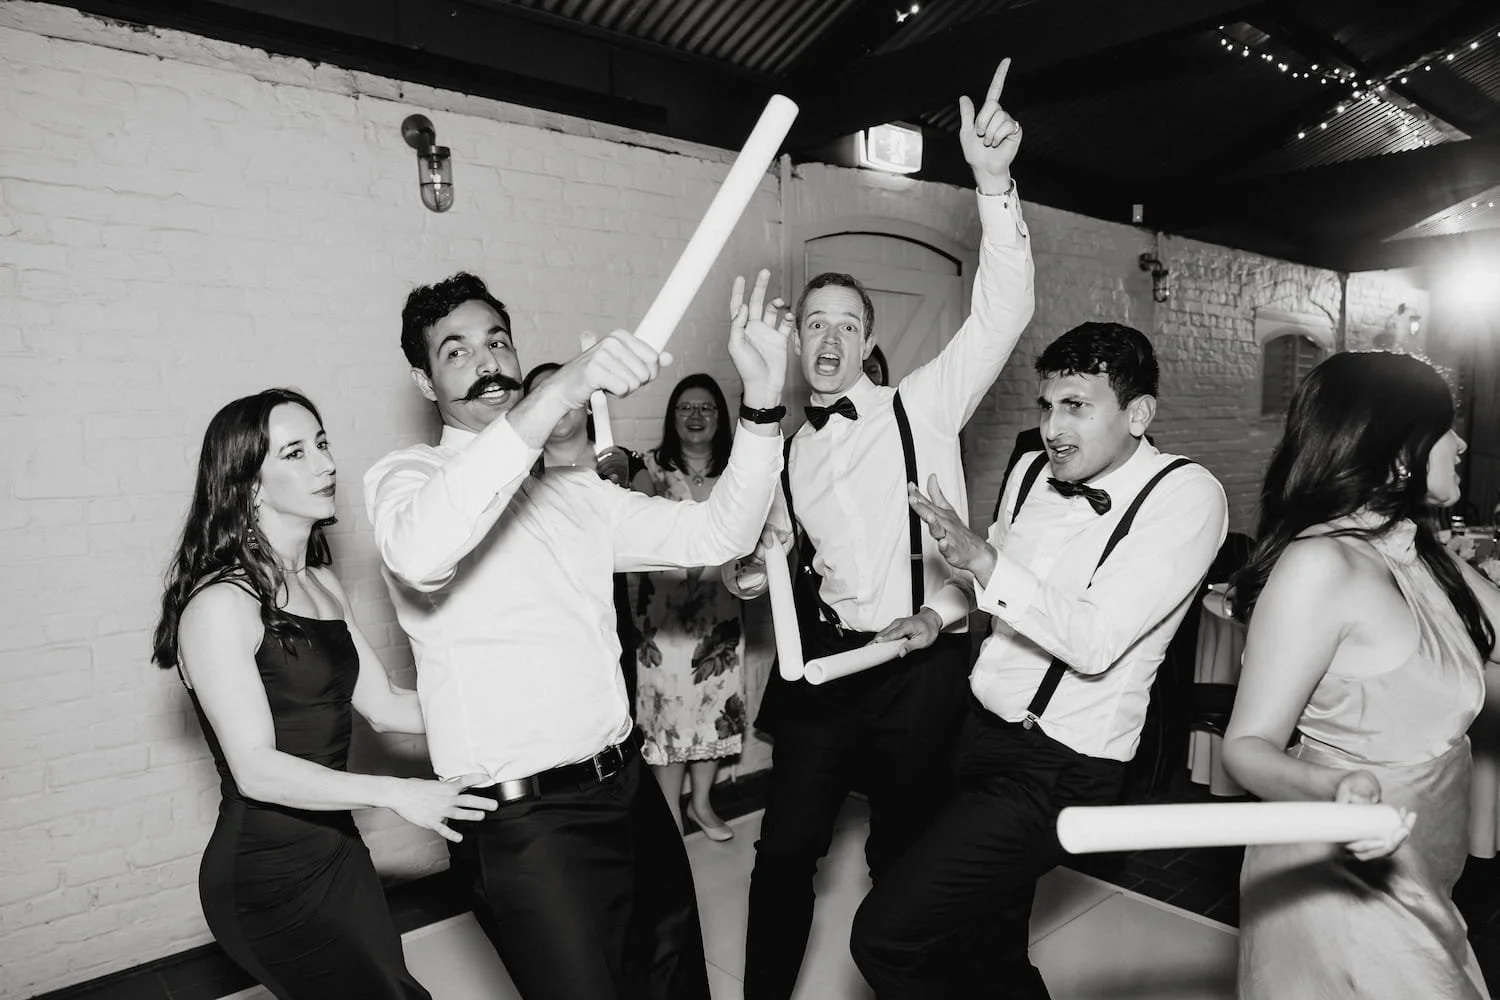
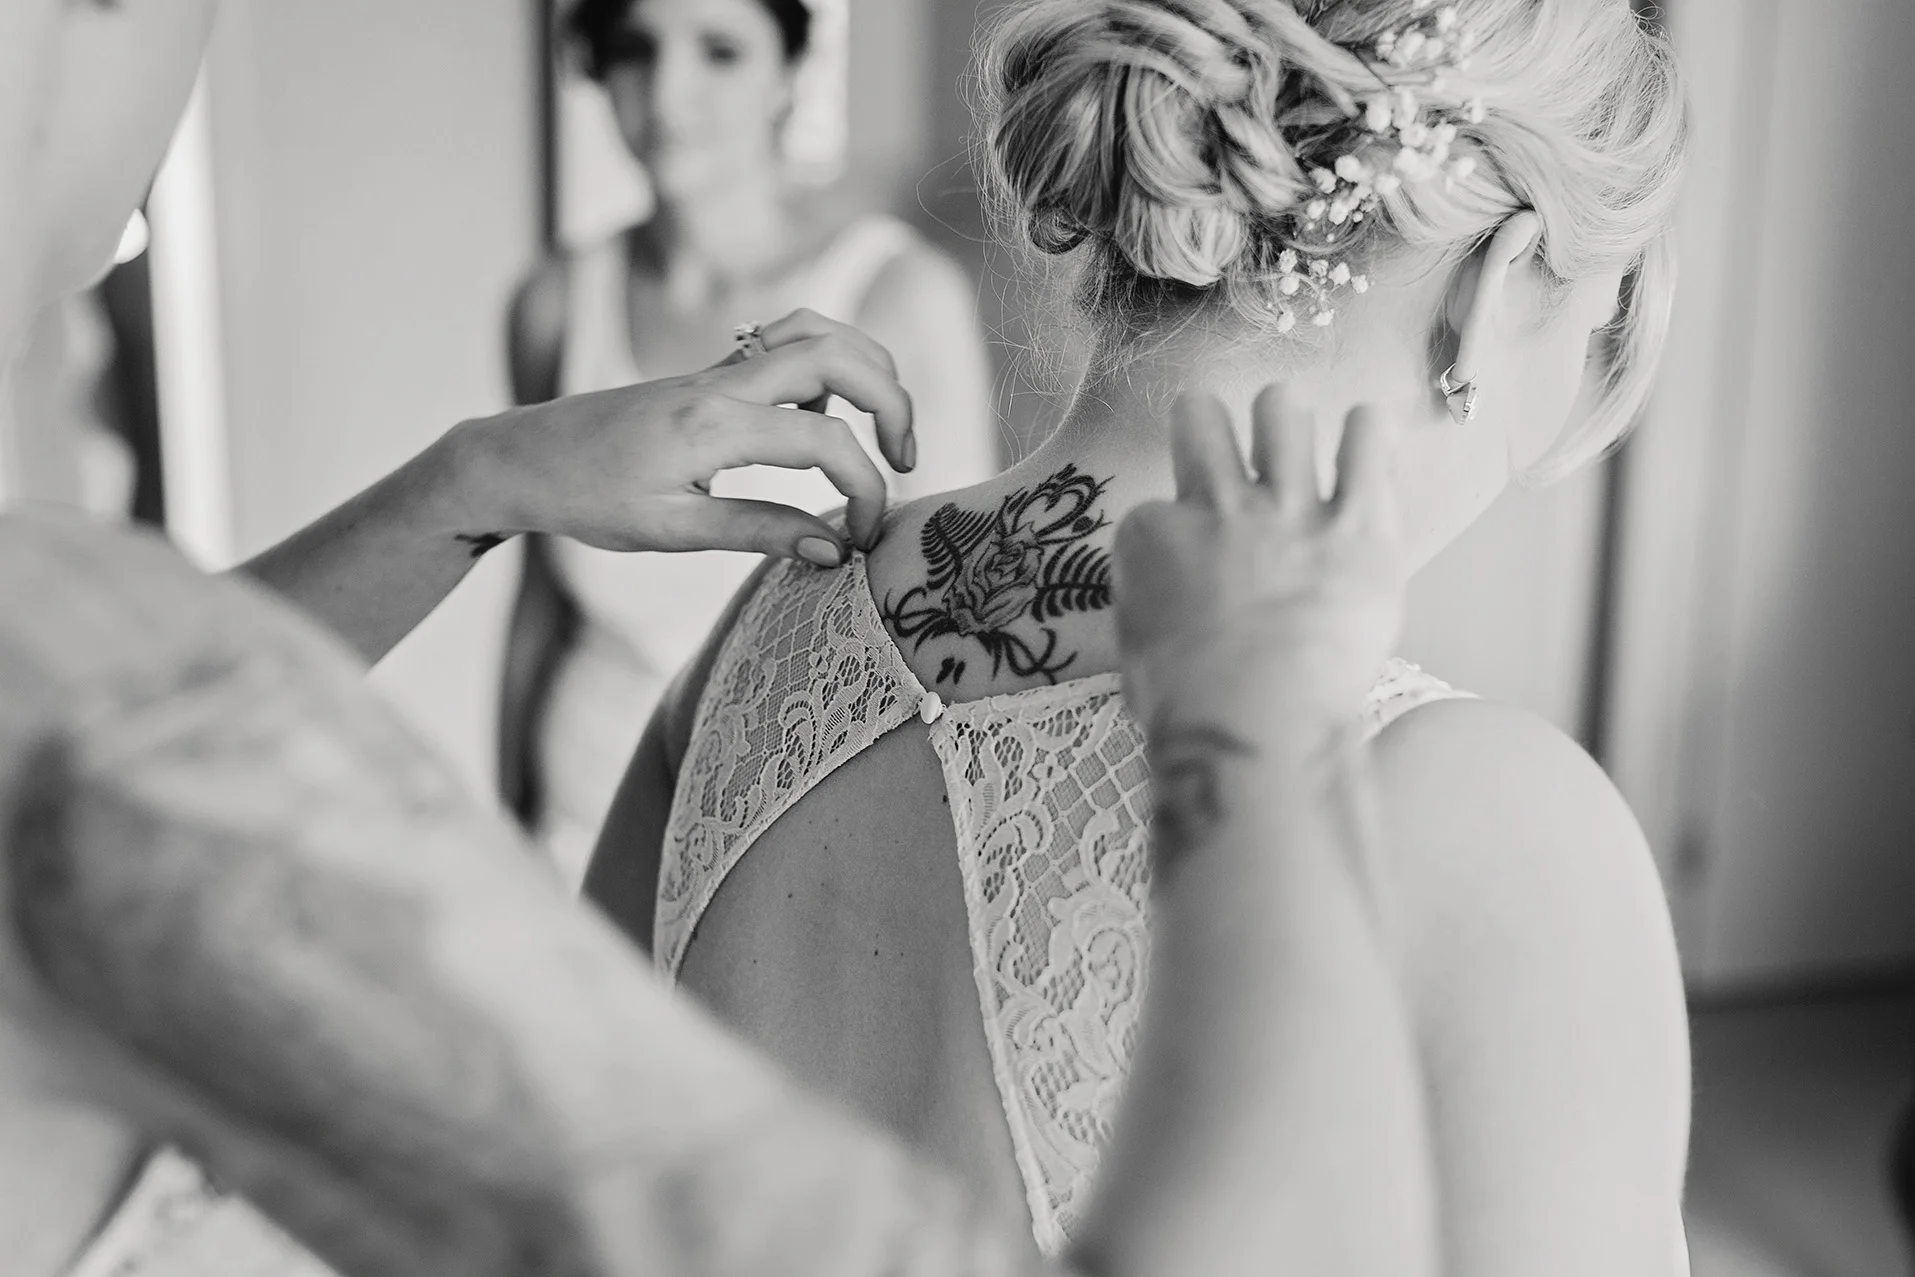
The Black & White Edit
When I process my photos to black and white, I never just desaturate them. Black & white photos need a very clear definition between highlights and shadows to show details and look interesting. However, I still like to make sure that I have a good number of greys to keep the photo natural & soft. For this reason I work on the shadows separately to the highlights and then bringing them together with the greys. ♥

Before & After Comparison
So there we have it, a simple overview of my processing process. And as promised, the before & after comparison :)